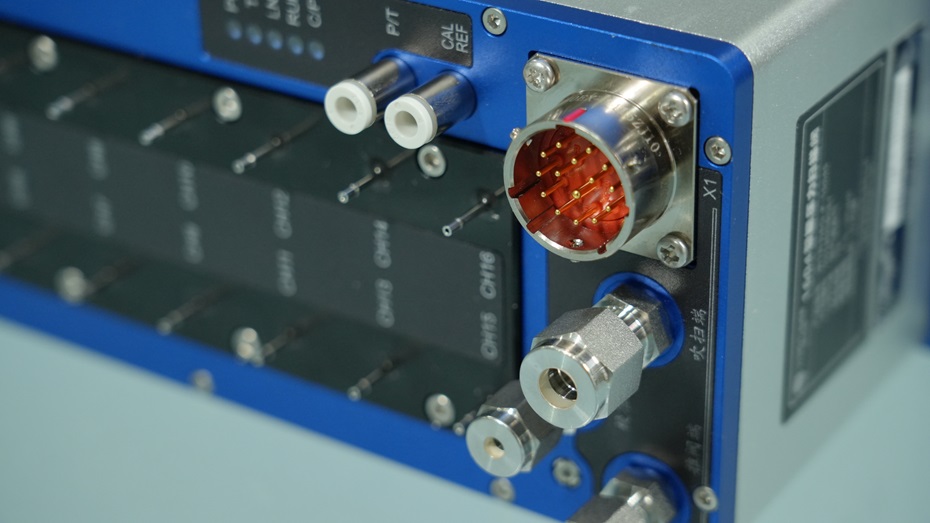
Calibration is a key link to ensure the performance and accuracy of the Ethernet Intelligent Pressure Scanners. By comparing the output signal of the scanning valve with the standard pressure signal, the error range can be determined and the corresponding correction coefficient can be calculated.

Factory calibration is mainly carried out at the manufacturer. At this stage, a high-precision pressure standard or pressure balancer is used as the standard pressure source to meticulously calibrate each channel, obtain the corresponding calibration coefficients, and store them in the internal EEPROM. Users can find these results in the product manual or calibration certificate as an important reference for subsequent use.
On-site calibration is carried out after installation or replacement. At this point, a pressure sensor or pressure gauge that matches the range of the Ethernet Intelligent Pressure Scanners is usually adopted as the standard pressure source. Calibrate each channel with two to three points, and obtain the calibration coefficients as well and store them in the EEPROM. The purpose of on-site calibration is to eliminate zero drift or sensitivity changes that may occur during transportation or installation, ensuring the accuracy of the measurement.
Regular calibration is mainly carried out after the Ethernet Intelligent Pressure Scanners has been in use for a period of time. Regular calibration also involves multi-point calibration of each channel using a standard pressure source. The purpose of this step is to check whether the equipment has aged or been damaged during use, and whether maintenance or replacement of parts is needed. The regular calibration cycle is usually one year or half a year, depending on the usage frequency of the equipment and environmental conditions.


