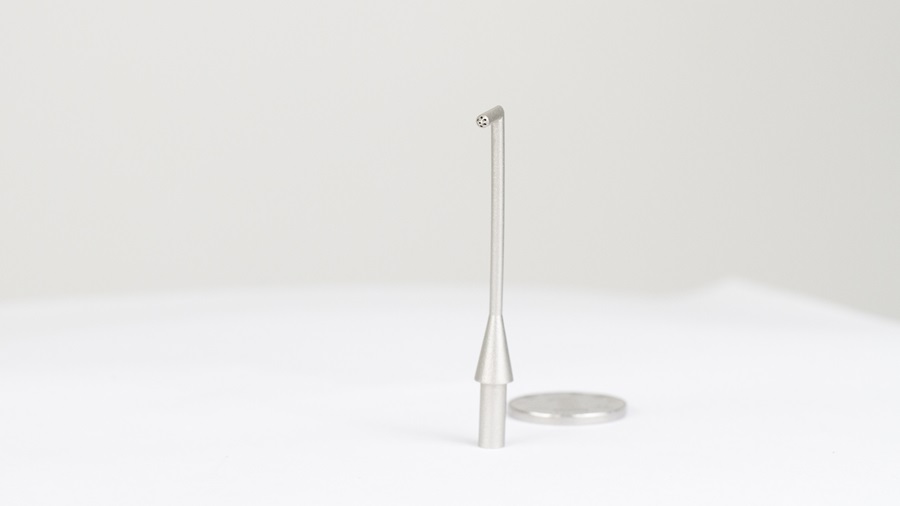
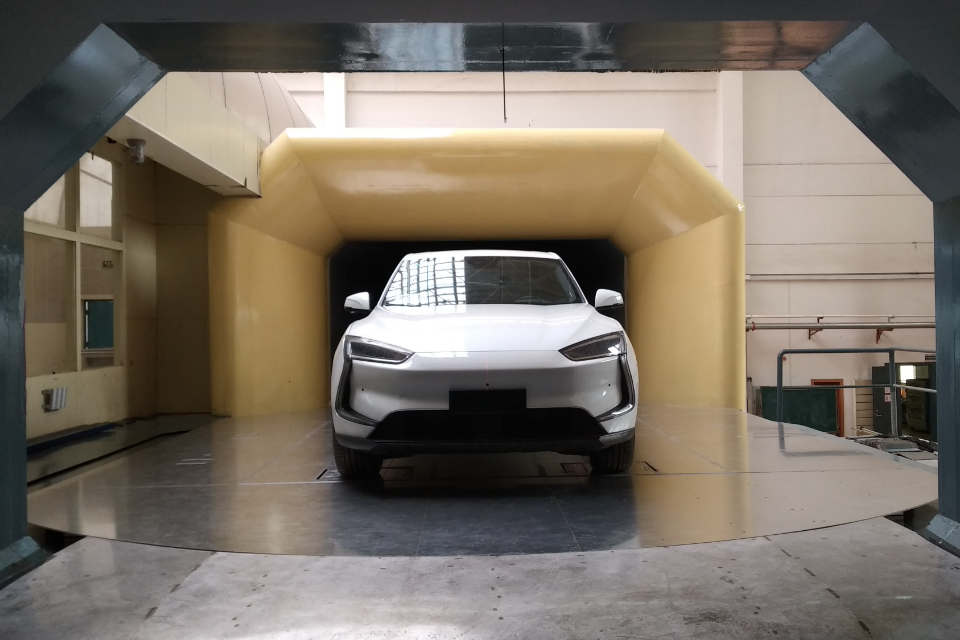
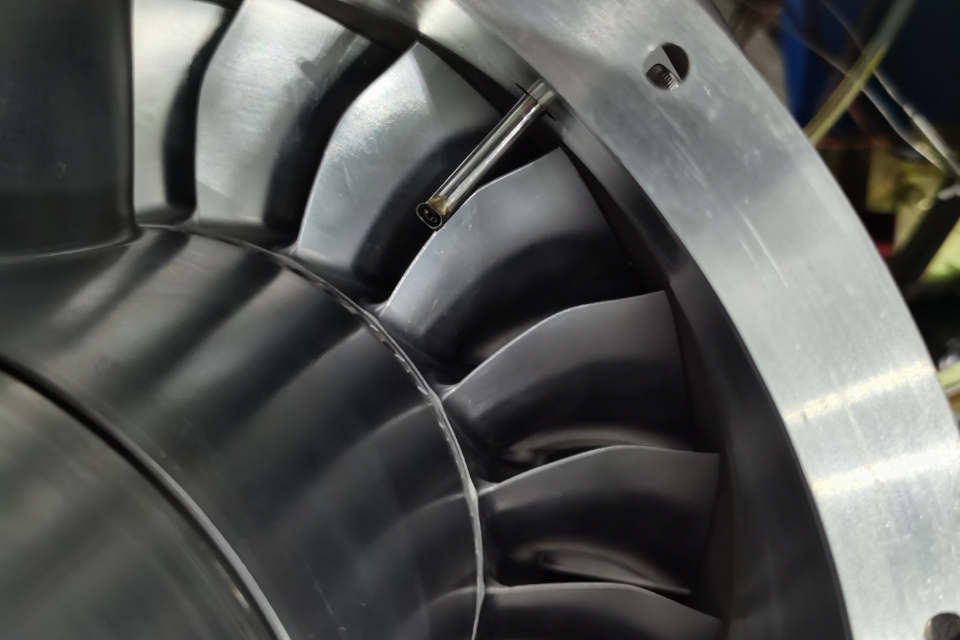
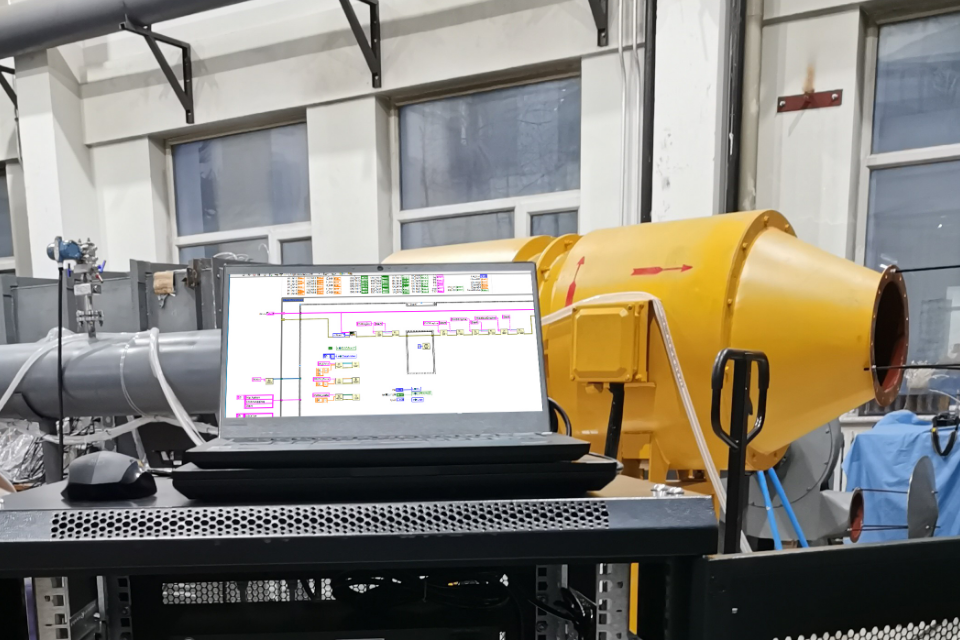
The steps that Windtuner takes when calibrating pneumatic probes are as follows:
1. Preparatory work: It is necessary to prepare and inspect in advance the air source of the wind tunnel laboratory, the Ethernet Intelligent Pressure Scanners, the temperature sensor and other calibration equipment and their values to ensure their accuracy and reliability. Pneumatic probes need to be prepared for cleaning and inspection to ensure that their surfaces are smooth, free of burrs and damages, etc.

2. Baseline test before calibration: Before calibrating the pneumatic probe, a baseline test needs to be conducted on the pneumatic probe, recording the zero point value and reference response value of the pneumatic probe. These values will be used as reference values during the calibration process.
3. Sensitivity calibration: With the assistance of calibration equipment, by changing the pressure of the air source, different flow field environments can be simulated. The changes in the response of the pneumatic probe can be recorded to obtain the sensitivity curve of the pneumatic probe.
4. Directional calibration: Test the response changes of the pneumatic probe at different angles and directions, and plot the directional response curve.
5. Response time calibration: Test the time required for the response signal of the pneumatic probe to change from the input signal to a stable response.
6. Temperature drift calibration: Test the response changes of the pneumatic probe at different temperatures to evaluate the performance of the pneumatic probe under temperature variations.
7. Calibration test: After the calibration of the pneumatic probe is completed, a final test is required to record the response value and error range of the probe to evaluate the calibration effect.
The above are the basic steps for calibrating Windtuner pneumatic probes. In actual calibration operations, depending on the customer's flow field environment and specific needs, additional tests and calibrations may also be required.


